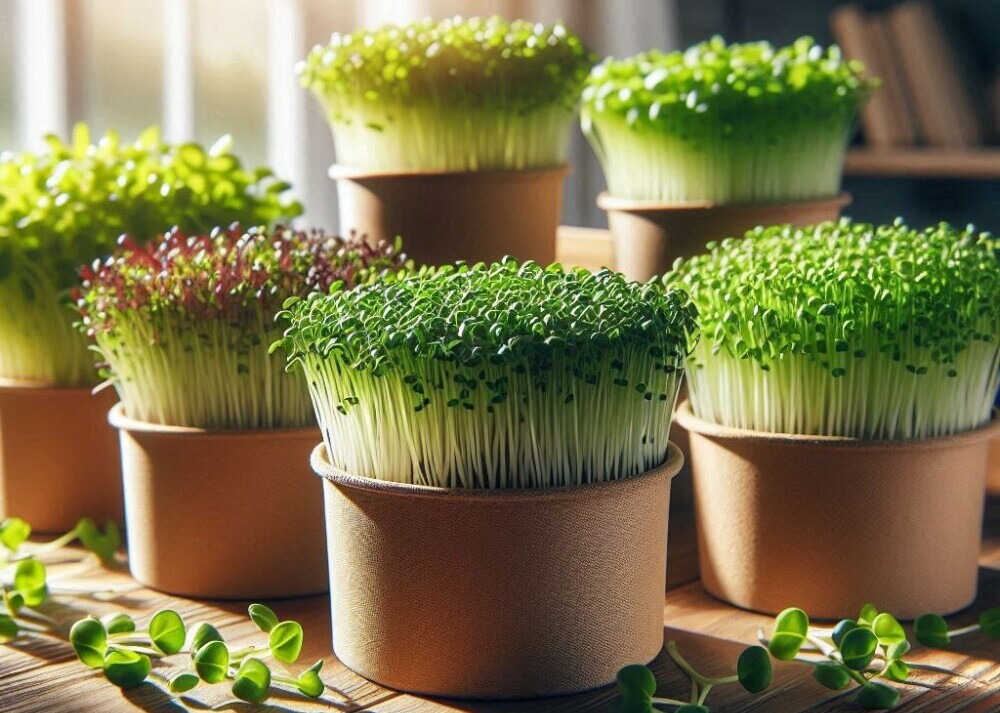
Microgreens have taken kitchens and culinary worlds by storm, packing a punch of flavor and nutrition in the tiniest of leaves. For many newbies, understanding their appeal is the first step onto this green path. Not only do they offer a zesty touch to your meals, but they also boast a powerhouse of vitamins and minerals.
 Now, diving into their growth secrets, certain factors are non-negotiable—light, temperature, and humidity stand front and center. Whether you’re squeezing them onto a windowsill or creating a dedicated grow space, attention to these elements can mean the difference between blah sprouts and vibrant greens ready to grace your dishes. Lighting, in particular, plays a crucial role, so consider using LED grow lights if natural sun isn’t an option. The right temperature keeps the little sprouters comfy; most prefer a nice 60-70°F zone to thrive.
Then there’s soil and water—can’t forget those! High-quality soil is your base, setting the tone for nurturing these tiny powerhouses. I recommend a soil mix that’s light and airy, allowing roots to breathe while keeping everything supported. As for water, it’s about balance. Too much can drown your sprouts, and too little leaves them parched. Aim for Goldilocks-worthy moisture, not too soggy, not too dry, just right.
Getting the planting tray right sets the stage. Ensure it’s clean, has good drainage holes, and isn’t overcrowded when sowing seeds. Giving each green the space to spread will encourage healthier, more vigorous growth. Plus, a clean tray reduces the risk of mold, which no one wants hanging around their kitchen gardens.
From Seed to Sprout: A Step-by-Step Guide for Beginners
When you’re just starting out with microgreens, picking the right types can make all the difference. Radishes, peas, and sunflowers are the go-to options for beginners. They’re forgiving, quick, and reward you with vibrant greens in under two weeks.
Kicking off the planting process, you’ll want to begin with soaking the seeds, especially larger ones like peas and sunflowers, for a good 8-12 hours. This little bath helps soften seed shells, giving them a head start.
Spread your seeds across the prepared tray. You want a nice, even distribution, but avoid piling them on top of each other. Patience is key here—cover the seeds lightly with a bit of soil, then give them a gentle mist of water.
Keeping your soil at the right moisture can feel like a delicate dance. Too much water, and you risk root rot, too little, and they dry out. So aim for consistently damp soil, especially during germination.
As you watch them grow, here’s a fun tip: use a second empty tray to create a blackout period for the first few days. This makes your microgreens stretch a bit as if reaching for sunlight, resulting in longer stems and fuller leaves.
Now, as for harvesting, it’s best done when the greens are about 1-3 inches tall, typically between 7 to 21 days depending on your chosen sprouts. Snip them carefully with a pair of kitchen scissors, washing them gently if needed before adding them to your favorite dishes.
Beyond Growth: Addressing Challenges and Cultivating Curiosity
With microgreens, it’s not always a walk in the garden. Understanding the hiccups that might pop up along the way is part of mastering this tiny produce. Mold and space constraints are among the most common setbacks. Keeping trays well-ventilated and not overcrowded can help fend off that pesky mold. Placing your greens in a spot with good air circulation and not skimping on cleanliness can be game-changers.
Microgreens come with their own little hurdles, but don’t let that deter you. Overcrowding leads to poor growth and sometimes invites mold, so spreading seeds evenly and giving each sprout its own space is critical. Overwatering is another culprit that loves ruining a good batch. Remember, those roots only need enough moisture to feel damp, not drenched.
Despite these challenges, there’s freedom to experiment with flavors and mix things up a bit. Not only can varying your microgreen garden keep your meals exciting, but cultivating a range of flavors—from spicy mustard greens to earthy kale—adds some zest to your everyday dishes.
Even with all the ups and downs, one of the charms of growing microgreens at home is the room for experimentation. Trying different seeds and varying growth conditions can yield surprising and delightful results. It’s your mini lab where you can test flavors and textures that suit your taste. Who knows, you might even stumble upon a new favorite that enhances your culinary adventures!
